Video marketing has become an essential part of the digital landscape. We are hungry to make real connections with the people and brands we see online, and the closest and easiest way to do that is to hear them speak. Video marketing allows people an inside view of you: your voice, your mannerisms, and allow potential clients and customers to get to “know” you without having to leave their homes.
It has to be done right. Poor video quality and especially poor sound quality can take a great branding opportunity and turn it into something that we all wish we could unsee.
So what do I need to start?
 1. Video Recorder
Start with your smart phone video camera in the beginning, especially if you are on a budget. If you do have a little money to spare and you want some more options with your video, then you can invest a little money and get a basic camera like the Canon PowerShot S120.
If you want to go for the professional look and get the top of the line entry level camcorder, I suggest checking out the Nikon D5500.
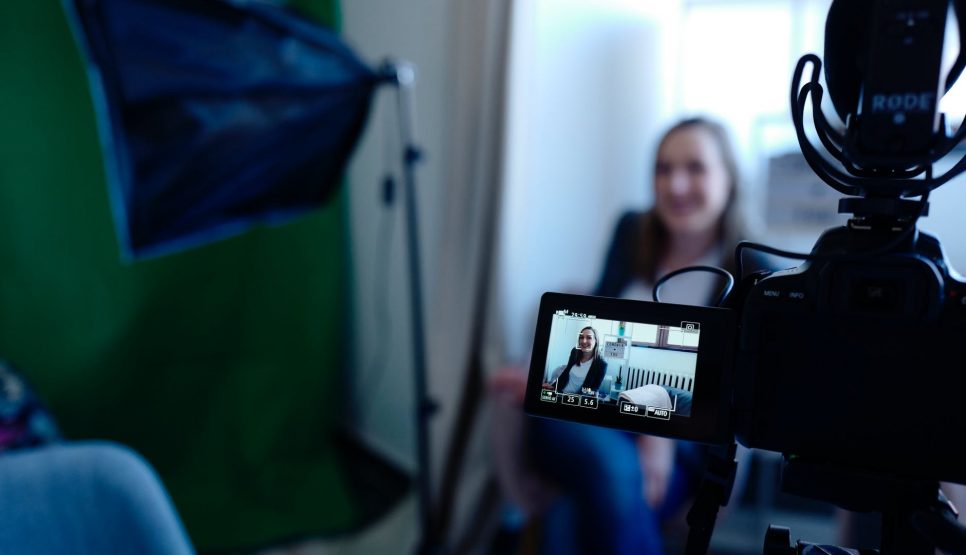
 2. Lighting
You can have the most advanced camera in the world but if you don’t have good lighting you’re not going to wow anyone. Camcorders were not designed to provide light by themselves: you have two options when capturing your videos for your marketing campaigns.
Natural Lighting – This is going to be your best light source, hands down. (And it’s free!) Check out multiple location and go trial-and-error: you’ll be surprised how much difference you will see from morning to evening in different locations. And please give up the idea of taking your professional video outside unless you’re up for hours and hours of sound editing. One car driving by, one bird in the background, or even worse one siren that you couldn’t even hear but got picked up by your mic and your video will take on a whole new feel.
Lighting Kit – The difference between a video lighting kit and regular lamps in your house is the colour temperature the bulbs throw out. Colour temperature comes in multiples variations. Daylight coloured bulbs used in professional equipment are usually 6,500 k (vs 2000k for a regular light) Look at the LimoStudio Softbox Lighting Kit to get you started. If you have the additional funds, consider buying two of the lighting kits so you have more options. (It doesn’t hurt to have extra light because you can always turn a bulb out.) Make sure the lighting kit you choose is both powerful and portable – you don’t want to make set-up a chore or else you’ll end up with one more reason to procrastinate your video adventures.

3. Mics
I love Blue mics – I have an old-timey radio-style one that I use for my voice-over and video projects. Their products run the gamut on price, but the brand is solid. Opting for a lapel mic over a desk or standing mic is a good idea if you will be dealing with background or ambient noise: the closer the mic is to your mouth, the less outside noise you’ll likely pick up. Again, testing out various mics is the best idea so keep the receipts for easy returns and start small.
 4. Tripod Time
A tripod should be one of the first things you pick up no matter what. There is no faster way to turn off a viewer than by giving them motion sickness. I cannot overstate the value of a stable picture. Whether you’re looking to do Facebook live or if you’re investing in Vimeo or YouTube, creating commercials, or any type of brand building, keeping viewers happy is key.
If you’re going the iPhone-video route, then you only really need to look for a trip that allows a clip for your phone, or you can use a mini tripod like the GripTight GorillaPod for your smartphone so you can be even more diverse with your shots. It is super inexpensive and will come in handy no matter your style.